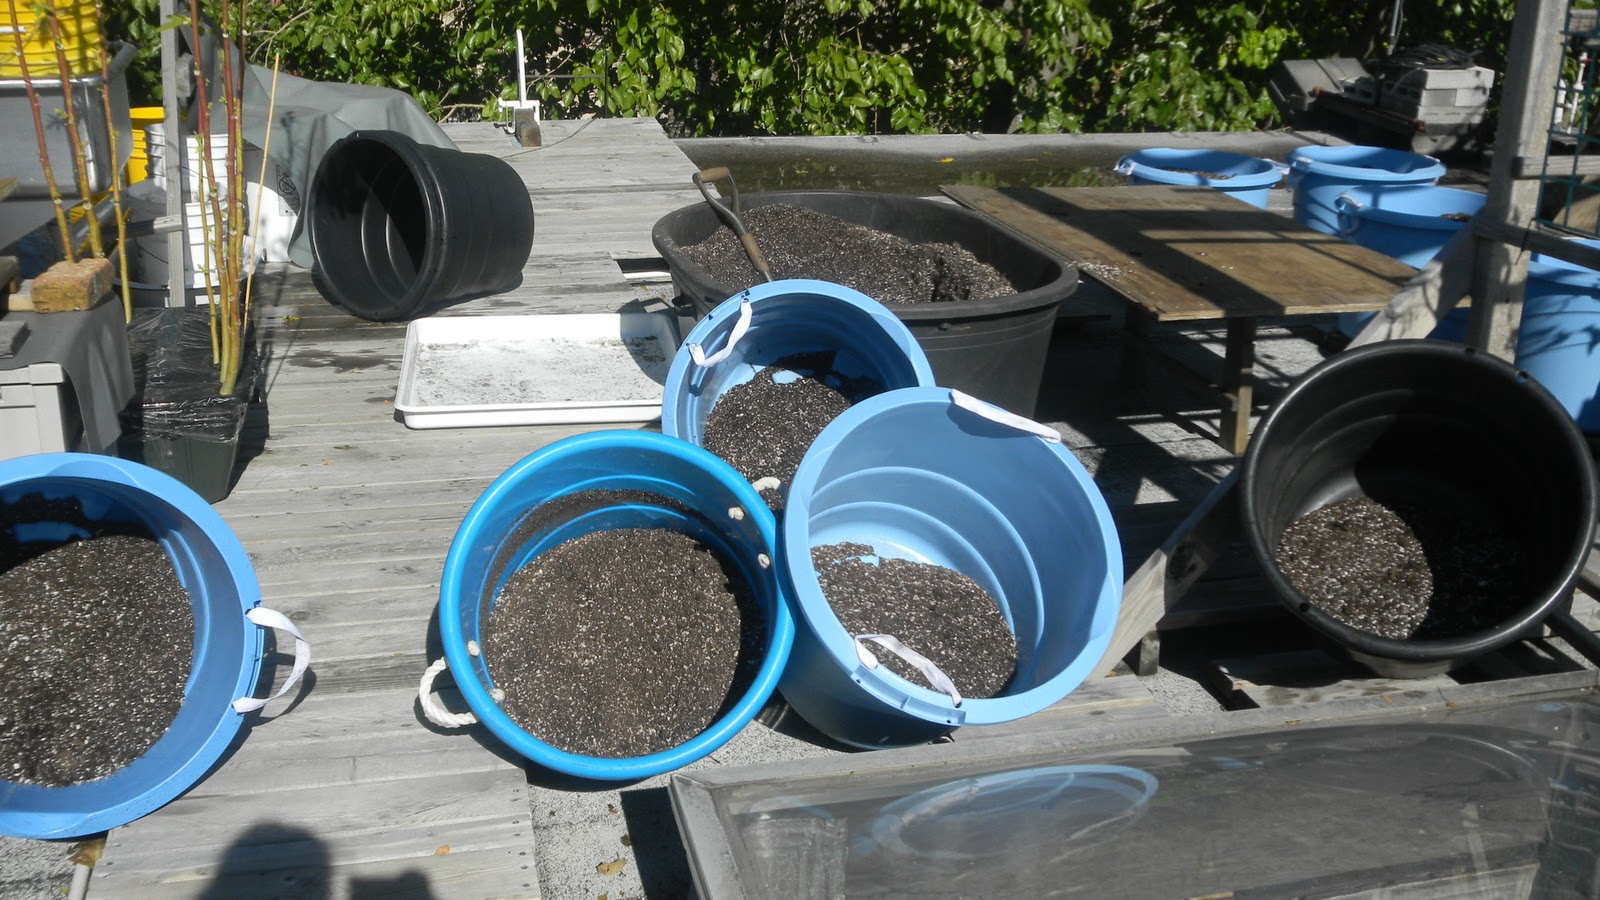
This is a Buddha's hand, also known as Citrus medica var. sarcodactylis. I stumbled on it while at my local Jewel's store. Rob the nice produce manager (pictured above) told me they come from Asia and torn off a tip of one of it's fingers for a couple of shoppers to experience. The fragrance was truly amazing. While it doesn't have the juice or pulp you'd expect from a lemon it can be used for drinks, juicing, and to make candy. Can't wait to try one soon.
Saturday, December 31, 2011
A Buddah's Hand
Friday, December 30, 2011
Starting Beekeeping?
H2 and Art have had two hives, tended by beekeeper Noam, on their roof for the past couple of years. Since they started, I've been thinking about tending my own hives on my roof.
I'd like to have feral bees, ones that have by their very existence, shown that they have the genetics to survive without treatments, pesticides, or other human intervention. The philosophy is outlined in books like The Complete Idiot's Guide to Beekeeping, sites like Michael Bush's, and by the Backwards Beekeepers.
Here's a nice video of Backwards Beekeepers Kirkobeeo demonstrating how to capture a feral swarm.
I'd like to find a local beekeeping group that does this kind of work.
I'm not sure how interested I am in doing this -- bees don't have any special hold on my imagination, and I'm a little unsettled by the prospect of a steady dose of bee stings. Then again, I felt the same way about chickens this time last year, and look how well that experiment turned out.
Thursday, December 29, 2011
Wednesday, December 28, 2011
The Agretti Chronicles
We stared our agretti seeds in March and they sprouted in June.
I mostly nibbled on the raw agretti while tending the roof, letting it grow and looking toward fall for a robust seed harvest. By September it was setting seed nicely.
And in October, drying under cover in the sun-warmed greenhouse.
Via Cherry Gal...
GROWING TIPS: Easy to grow. Plant as soon as ground can be worked and cover with 1/2" soil and space 4-6" apart, thinning to 8-12". This must be planted in cool weather. It will not germinate in warm soil. Germination in 7-10 days and you can start cutting from the plants when they reach 6-8" in height. Cut the green tops or sections - it will regrow (my favorite kind of green). Generally used in the Spring when leaves are tender.
Thursday, December 22, 2011
Chickens as Pets?
Tuesday, December 20, 2011
Growing Cool-Weather Greens Indoors
A Low Tunnel for Greens in Fall-Winter-Spring
The next logical step for the raised bed Art built for my birthday in spring 2011 was to structure a low tunnel over it so cool-weather greens can grow in winter...or at least thrive longer in fall and start earlier in spring.
We looked to Johnny's Seeds for the bits we'd need. First, a bender to turn conduit into hoops-- worthwhile, easy to use, and eminently shareable with your neighbors.
Art holds up hoops so I can visualize where we'll position them. Then he secures them. I need to be able to get inside to clip greens.
You can see the sun on that nice southern brick wall below, our neighbor's building. All credit to Eliot Coleman and his Four Season Harvest, which opened our eyes...
Eliot Coleman introduces the surprising fact that most of the United States has more winter sunshine than the south of France. He shows how North American gardeners can successfully use that sun to raise a wide variety of traditional winter vegetables in backyard cold frames and plastic covered tunnel greenhouses without supplementary heat.
We used these Johnny's snap clamps to attach the fabric to a long run of conduit to weigh down the edges.
The conduit concept worked well, and I hope to be able to lift the edge as a single unit when I want to get in there or give the plants some air.
The clamps also keep the fabric taut on the hoops, to hold snow.
I probably wouldn't purchase these plastic clamps again. In the cold weather they're difficult to manage and apply...even in not-so-cold weather they were a pain. Got to be an easier way.
Sunday, December 18, 2011
Friday, December 16, 2011
The Power of Compost
Outside air temp = 25º F, Compost Pile Temp = 120º
I'm really interested in the work of Jean Pain.
Let’s look at Jean Pain’s methods and try to assess what sort of legacy he has left us as we enter the 21st century.I love how he took forest underbrush, and with the help of bacteria, made hot water, methane, electricity, and garden compost. The man was a genius.
Pain lived in Provence and realized the limitations of what Alan Savory has called “brittle environments,” those characterized by extended seasonal drought. Absent herds of large animals to process the biomass into a form available to soil organisms, organic matter tended to cycle more often through fire than through earth, exaggerating the loss of carbon from soils already depleted and subject to high temperatures for much of the year. While Savory, and his intellectual predecessor Frenchman Andre Voisin, emphasized intensive grazing by herd animals, Pain faced a dry mountainous landscape where resinous plants were dominant. Unsuitable for most grazing animals, the brush-wood, which amounted to as much as 50 ton / hectare (20 ton / acre) was a huge reservoir of volatile fuel for an ever-increasing number of human-caused fires scourging the Mediterranean littoral (seashore).
A modern Prometheus, Pain sought to domesticate this demon for human use. His studies had revealed the essential mystery of humus and its role in soil fertility. The creation of long-chain carbon molecules by a biological alchemy made soils and the environments based on them, more supple, better capable of holding magic substance could be “cultured” by providing supportive conditions for bacteria and fungi to digest plant material: ample moisture, controlled atmosphere and temperature and the continuous diffusion of oxygen into the mass were sufficient.
But though the raw material was abundant in the Provencal forests, its collection required chainsaws and motorized transport, and its processing required grinding to increase the surface area and hasten breakdown. Collection and grinding required industrial fuels and machinery, albeit simple: trucks, tractors, power saws. How then to close this economic and energy loop? By capturing energy from the composting process.
Sunday, December 11, 2011
Chickens in Early Winter
Saturday, December 10, 2011
Drying Out Potting Mix in Fall
Look at all the roots at the bottom of this top bucket. Should they be freezing and then decomposing come spring? We reserve a bin for all this vegetative matter, load it up, and send it down to the compost heap.
Drying out the mix is a quiet practice done over time, but worth it for the health of the mix and next year's plants. We also rotate the potting mix so the same plants aren't growing in it the following year. If you're not growing on a roof (or even if you are), there are many ways to accomplish the same idea we show here.
By the way, earthbox instructions say you can plant and replant the following year without removing the mix. As you'll note from these photos, that's not possible with the smaller 5-gal SIPs. Roots end up occupying virtually all available space. As for our two adopted earthboxes, we empty them too, but in the spring.
Step by step...
1--Clip all top-growing foliage and compost it.
2--Turn SIPs on their sides to drain water from the reservoirs.
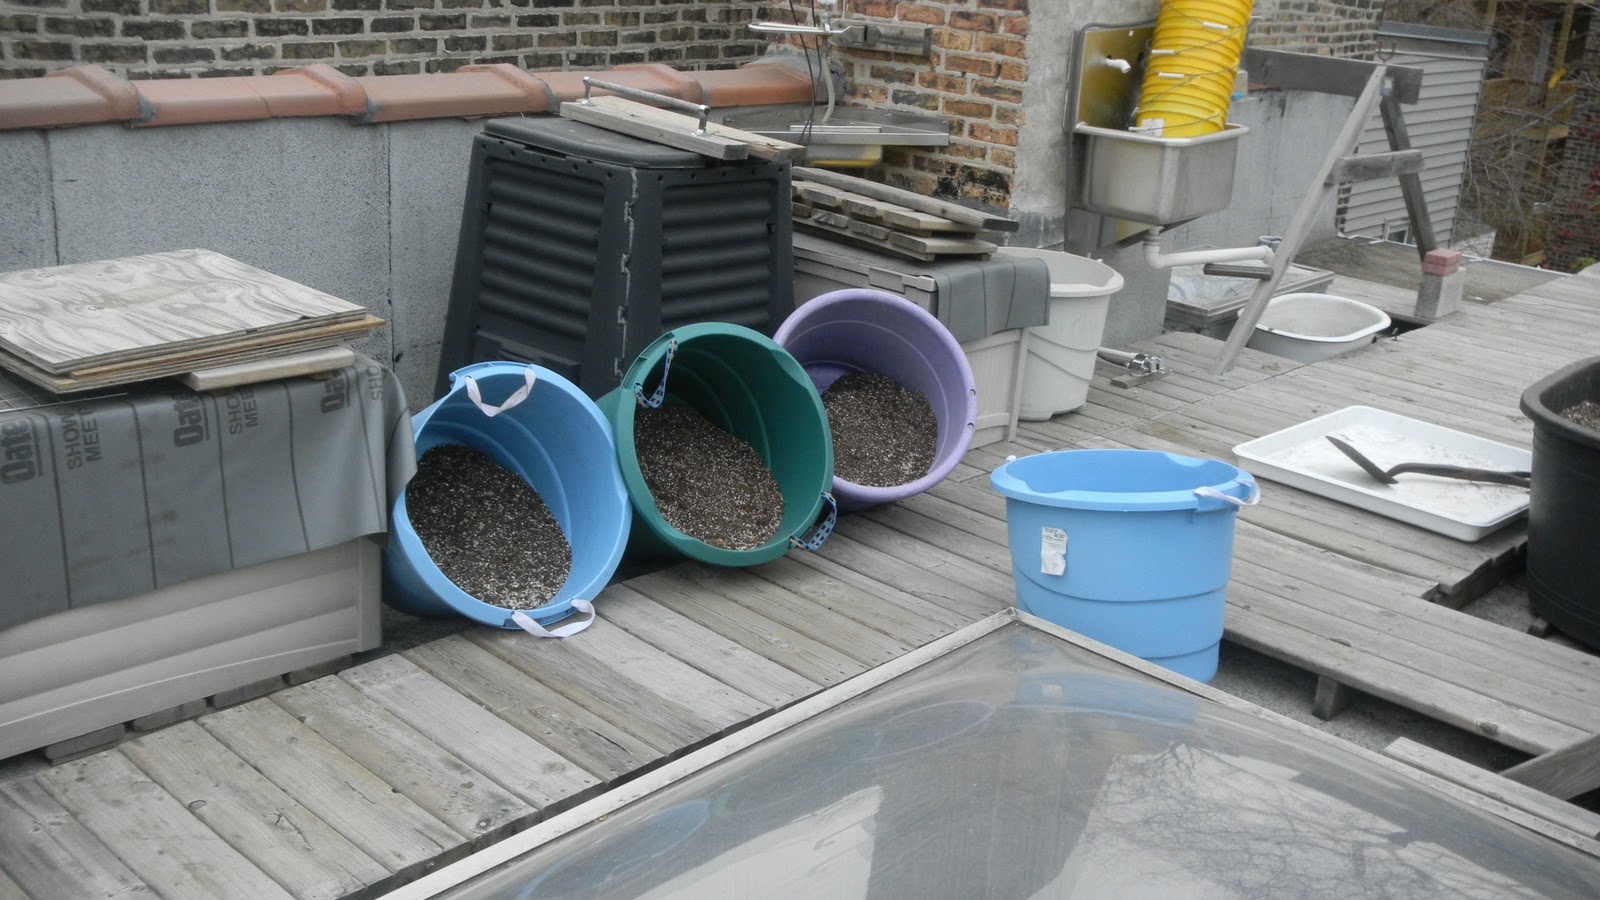
4--Shovel out the damp mix and lay it into the bottom of plastic bins like these.
Someone (probably my snarky brother) asked: wouldn't it be easier to grow in the ground? The answer of course is yes, if you have a planting area that gets full sun.
But we don't.
SIPs are astonishingly productive and there are lots of approaches you could use to dry your potting mix. However you proceed, we recommend it.
Here's to a healthy growing season in 2012!
Monday, December 5, 2011
Homemade Arugula Pesto: In 3 Easy Steps
Here's how I preserved my precious pound of Arugula...
The key ingredients: Here's my fresh organic Arugula and some homegrown hardneck garlic which I harvested a few months ago. I like growing a garlic called "Music", it's easy to grow, stores well (for at least 9 months) and I love the intense flavor. Once you start growing your own garlic you'll never go back to the store bought stuff!
Arugula Pesto Ingredients:
4 cups of Arugula which is approximately a 1/2 lb.
1 cup shaved Asiago cheese
10 to 12 cloves of garlic with their skins on for toasting
1 cup of walnuts
1 fresh lemon
1 tsp. Kosher salt
Pepper to taste
Steps:
1) Toast walnuts in heavy pan till golden brown.
2) Separate garlic cloves with skins on and toast in a heavy pan for about 10 minutes, let cool, then remove skins.
3) Place all ingredients in a food processor and mix till smooth and creamy.
You can enjoy your pesto now or freeze it for later use. Here's how I prepared mine for the freezer:
I used styrofoam egg cartons to freeze my pesto. This works well when you don't have an extra ice cube tray handy.
I froze my pesto in the freezer overnight (10 hours) and the next morning I packaged them. I found that the pesto cubes released from the carton easily when you soaked the bottom in warm water for about 5 minutes. Egg cartons are also great for making ice cubes or freezing herbs.
You can also freeze your pesto in a plastic bag. Just lay it flat on a cookie sheet or small pan till frozen. It's easy to store, just break off what you need then place it back in the freezer.
Hope you'll try this delicious recipe. Thank you Carla for sharing your organic Arugula!


